In order to scan to your Google drive from any Toshiba printer, please follow the registration instructions below for the 'for Google Drive' app.
-
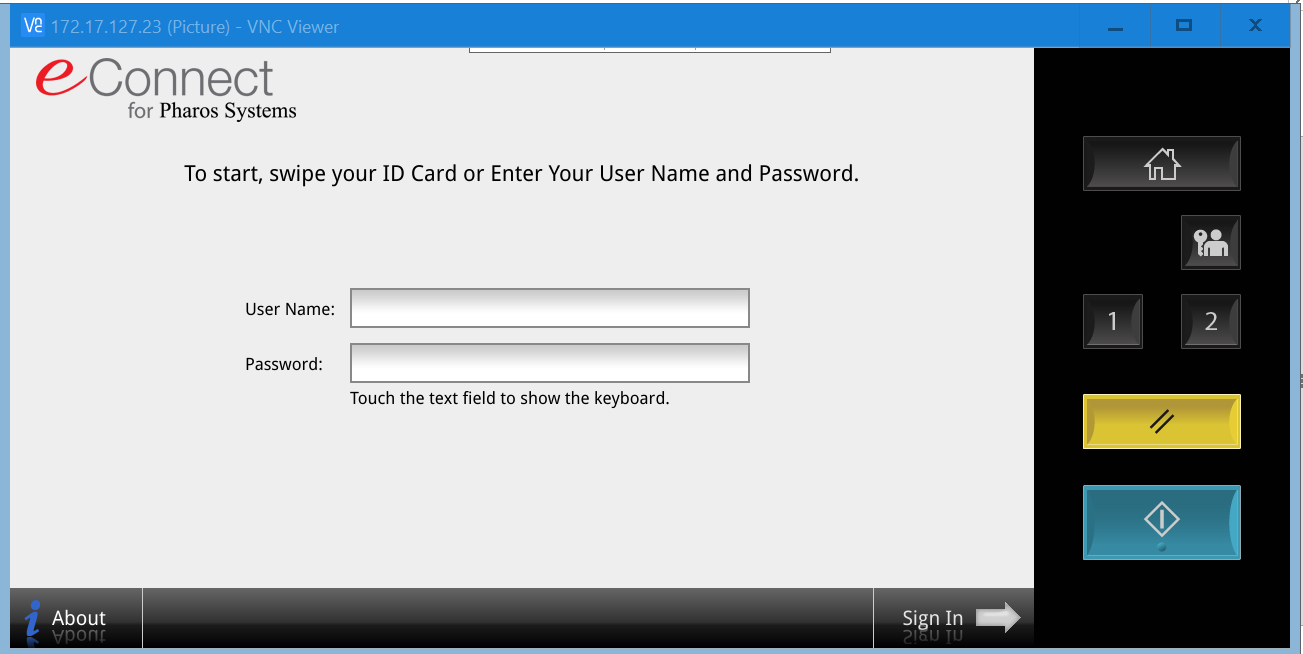
Swipe your Spirit ID card on the printer card reader.

-
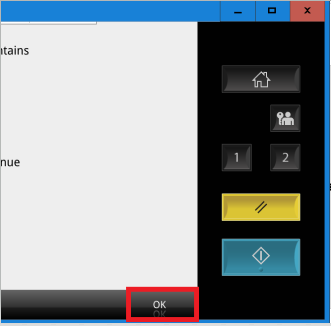
Once logged into your account, click the OK button.
-
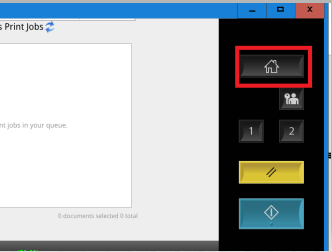
From the Print jobs screen, click on the Home button on the printer console.

-
From the Home screen, select the ‘for Google Drive’ icon.

-
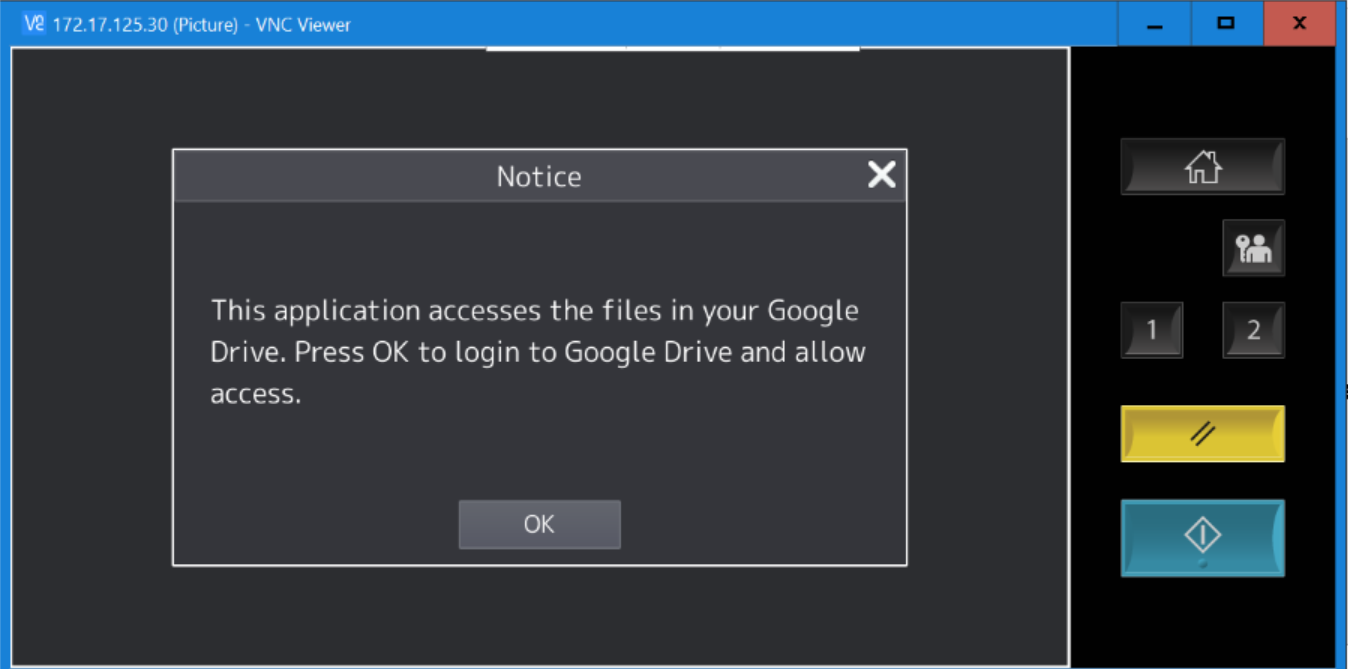
Press Ok on the Google Drive access message.
-
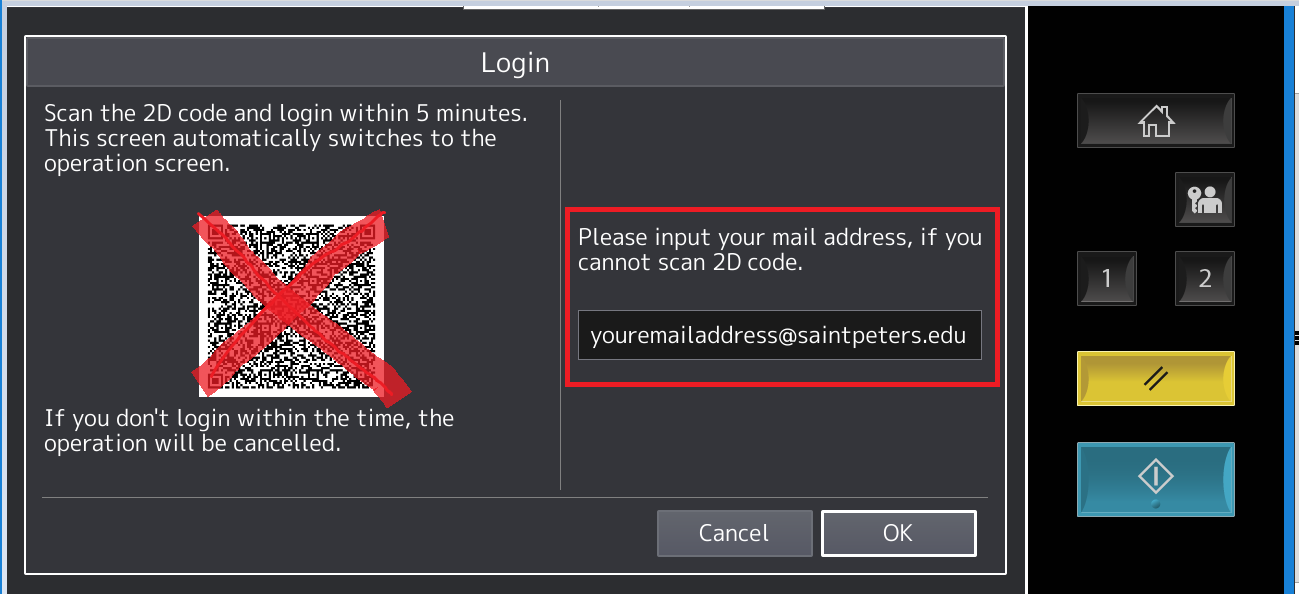
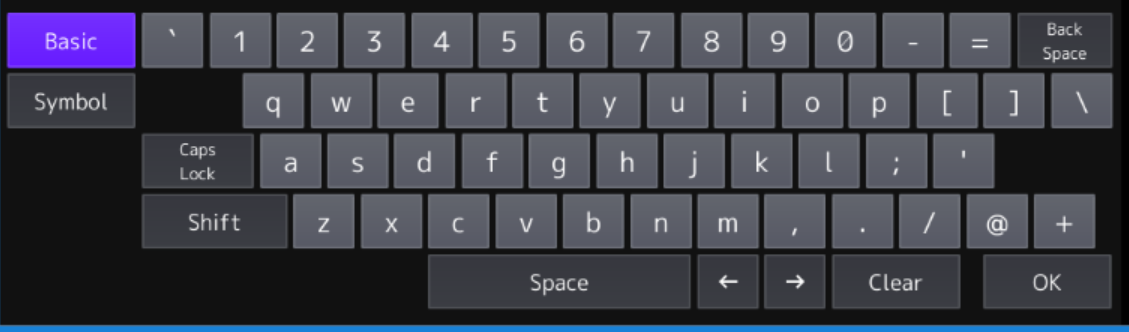
On the Login screen, select the field below to input your Saint Peters email address using the virtual keyboard and press OK when complete.. Do not use the QR code, as it is not supported as of this writing.
-
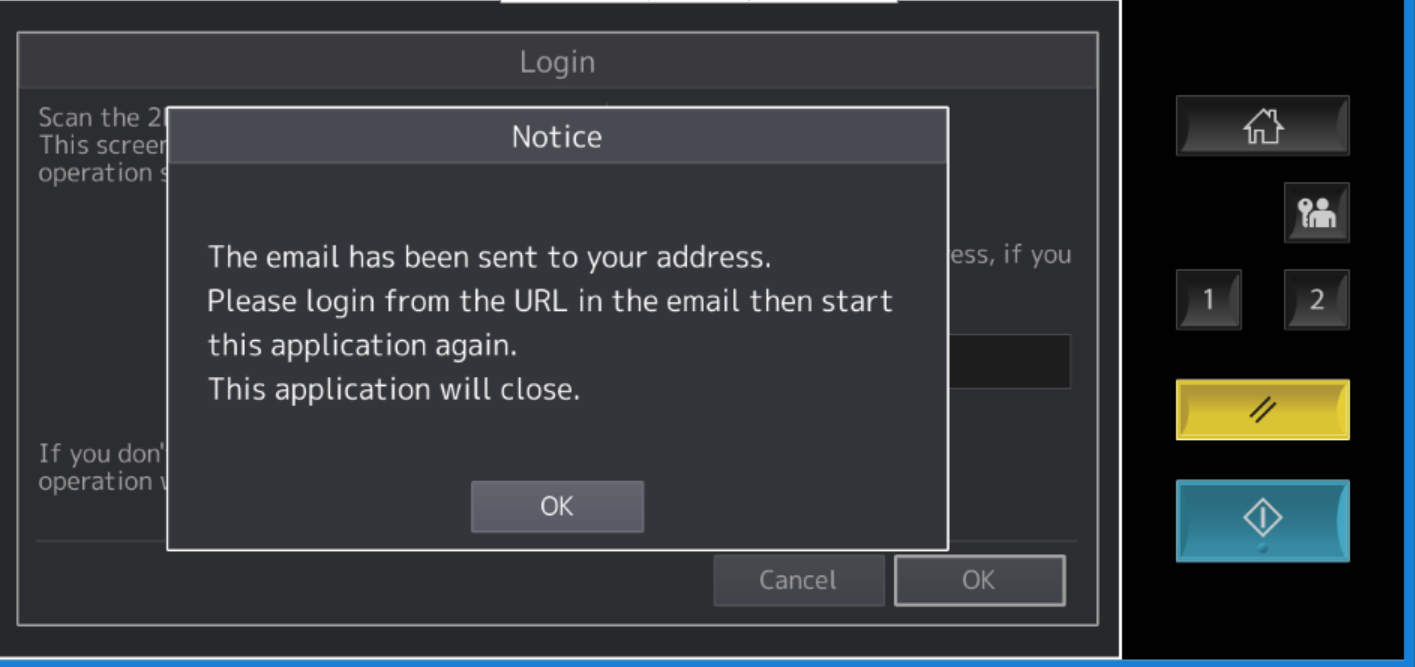
On the Notice message window, click OK.
-
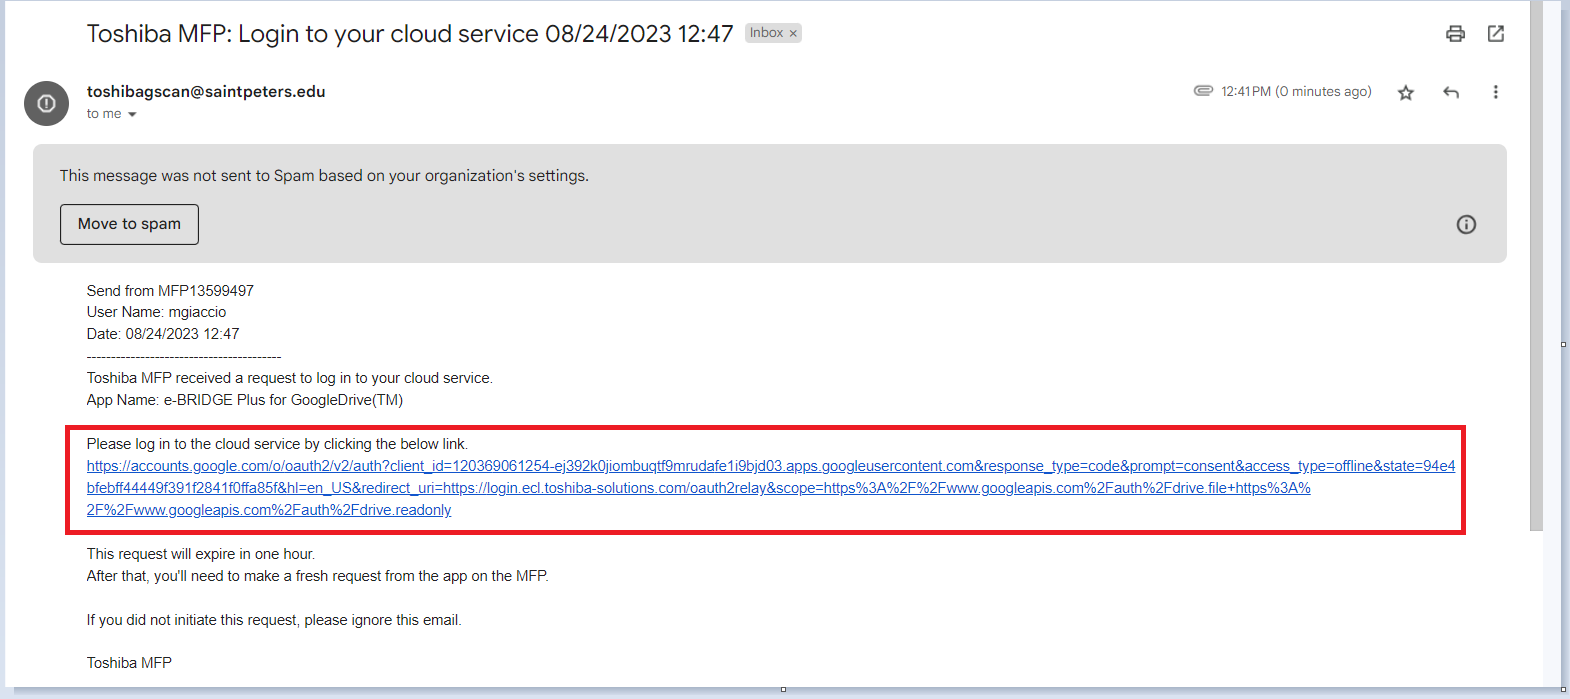
Log into your Saint Peters Gmail account, and look for an email from toshibagscan@saintpeters.edu. Open the email, and click the link in the section ‘Please log in to the cloud service by clicking the below link.’
-
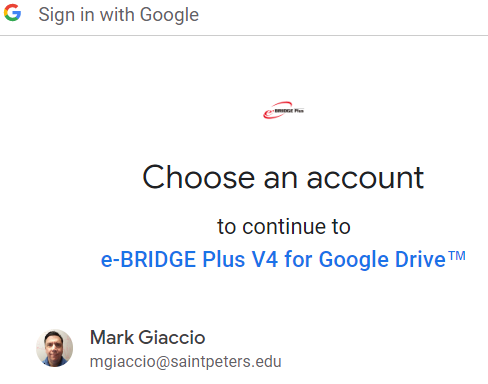
Clicking the link will prompt you to choose your Saint Peters Gmail account. Please do so.
-
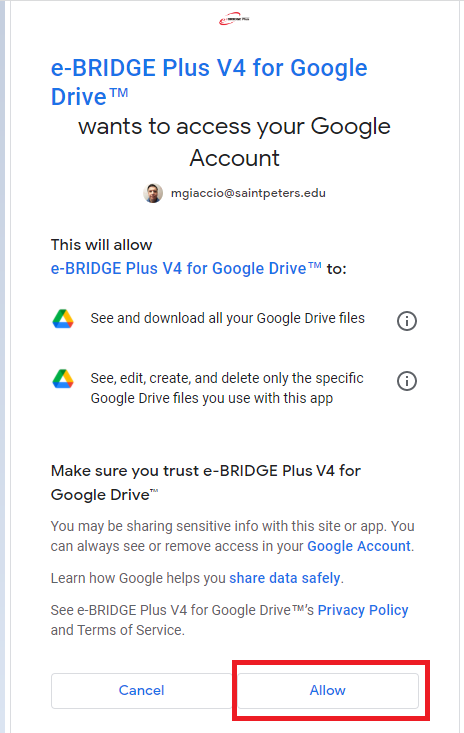
After selecting your Saint Peters Gmail account, you will be prompted to Allow e-Bridge Plus V4 for Google Drive access. Please click the ‘Allow’ button.
-
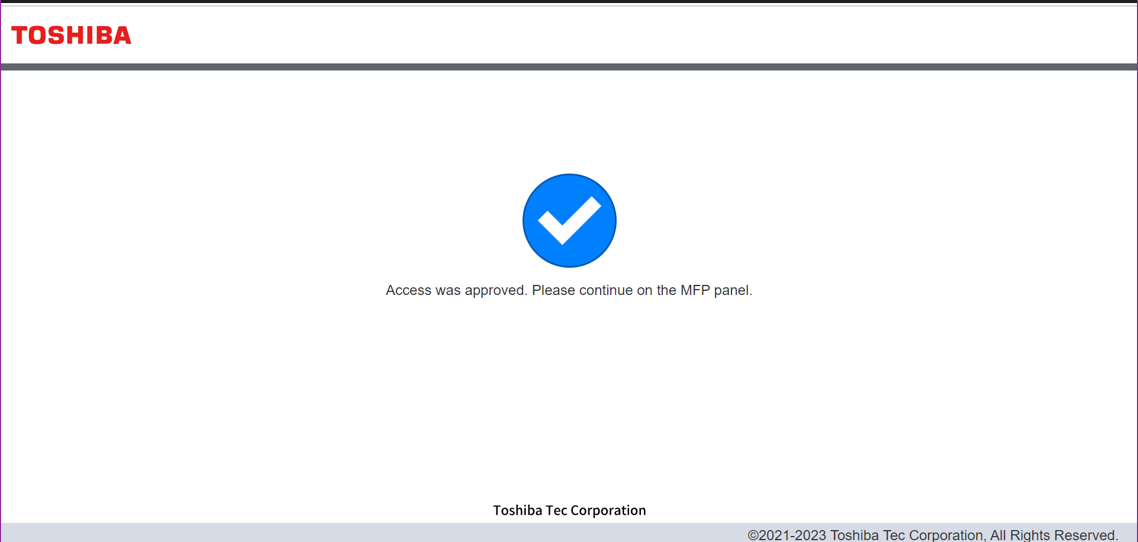
Once you click ‘Allow’, an internet browser tab will open. You will see a blue check mark indicating the access has been approved. Registration is complete, and you may now scan to Google Drive using the ‘for Google Drive’ app on the printer Home screen menu (steps for this can be found here).
Once you have finished the registration instructions above, you may use the 'for Google Drive' app to scan from any Toshiba printer to your Google Drive using the instructions below.
-
Swipe your Spirit ID card on the printer card reader.
-
Once logged into your account, click the OK button.

-
From the Print jobs screen, click on the Home button on the printer console.
-
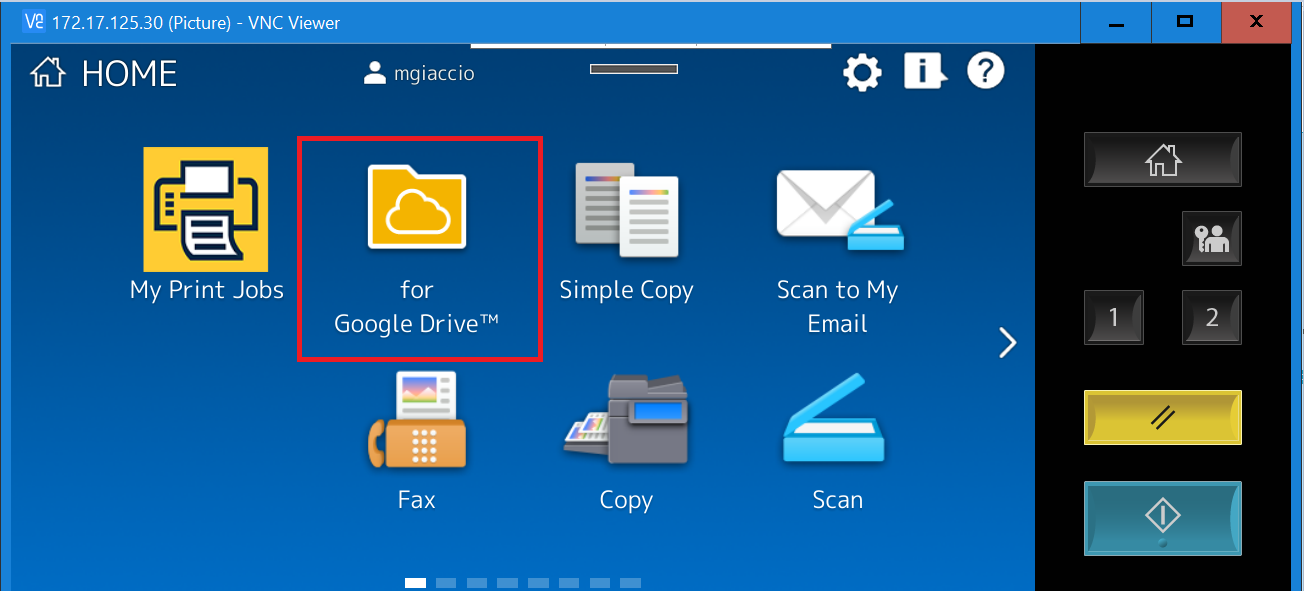
From the Home screen, select the ‘for Google Drive’ icon.
-
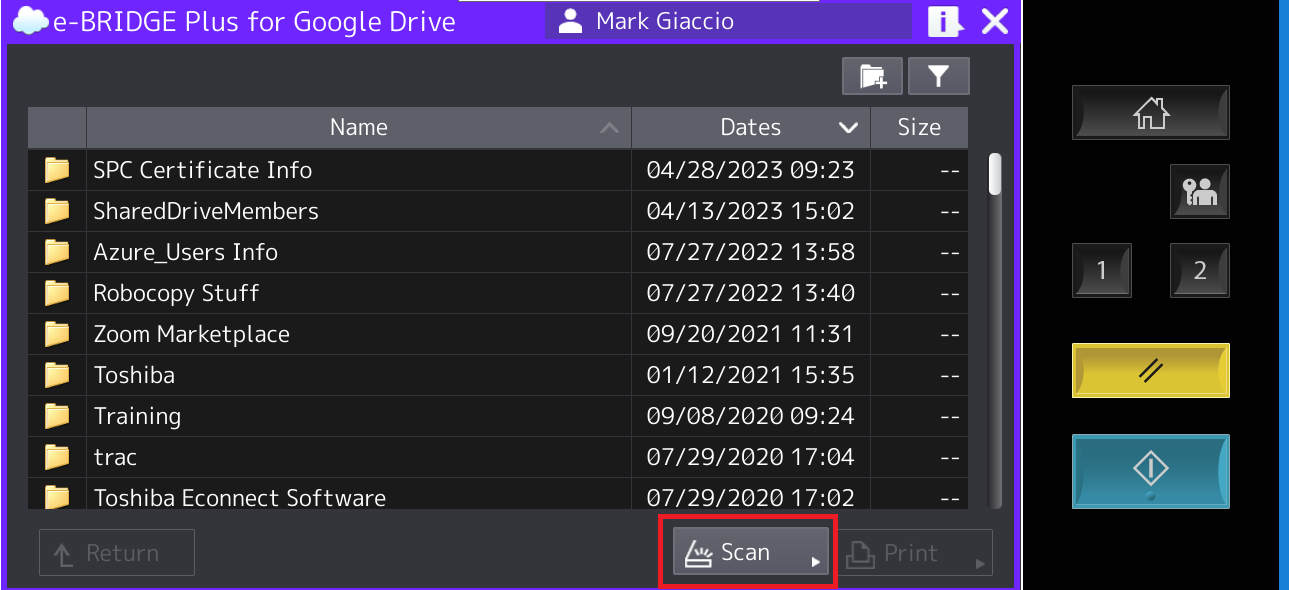
Insert the document you wish to scan in the printer tray feeder. On the e-Bridge Plus for Google Drive screen, select the Google drive folder you wish to scan to and press the Scan Button.
-
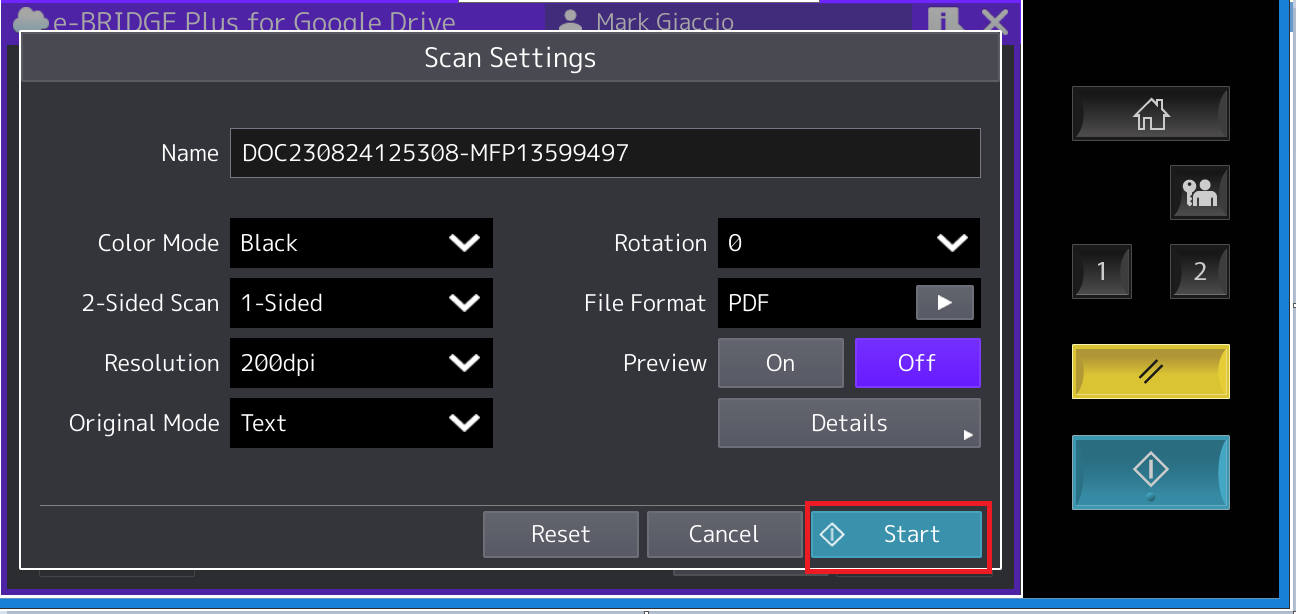
On the Scan Settings menu, choose your desired settings and click the Start button.
-
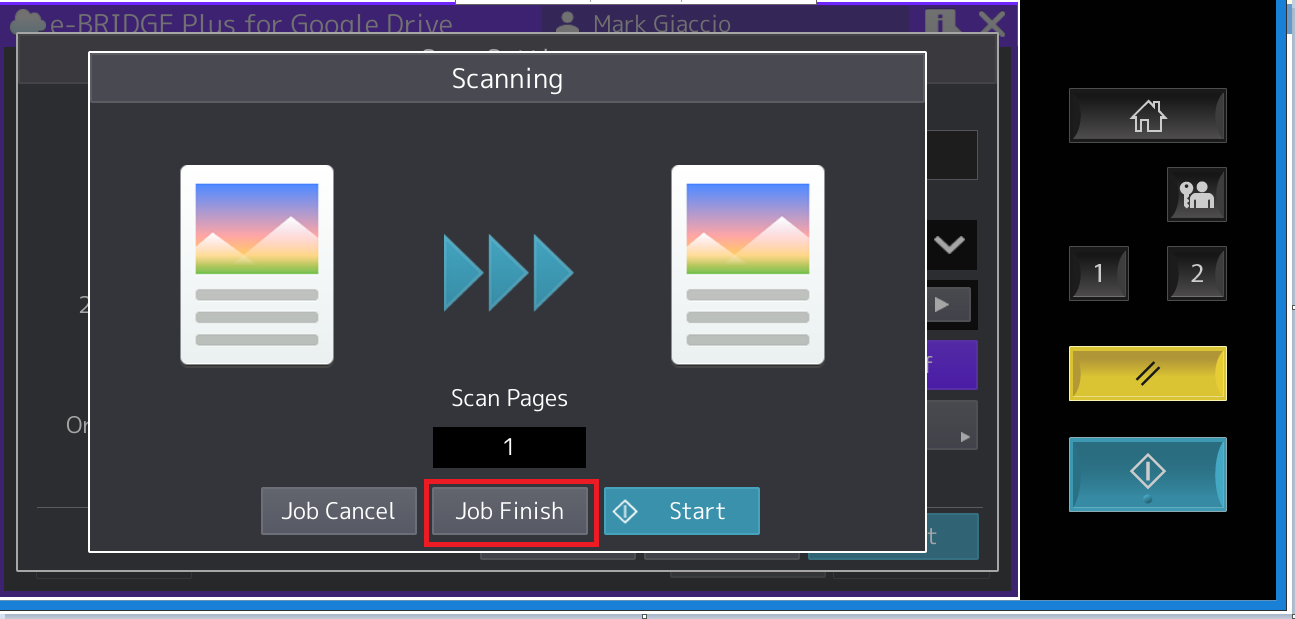
Once the scan completes, click the ‘Job Finish’ button.
-
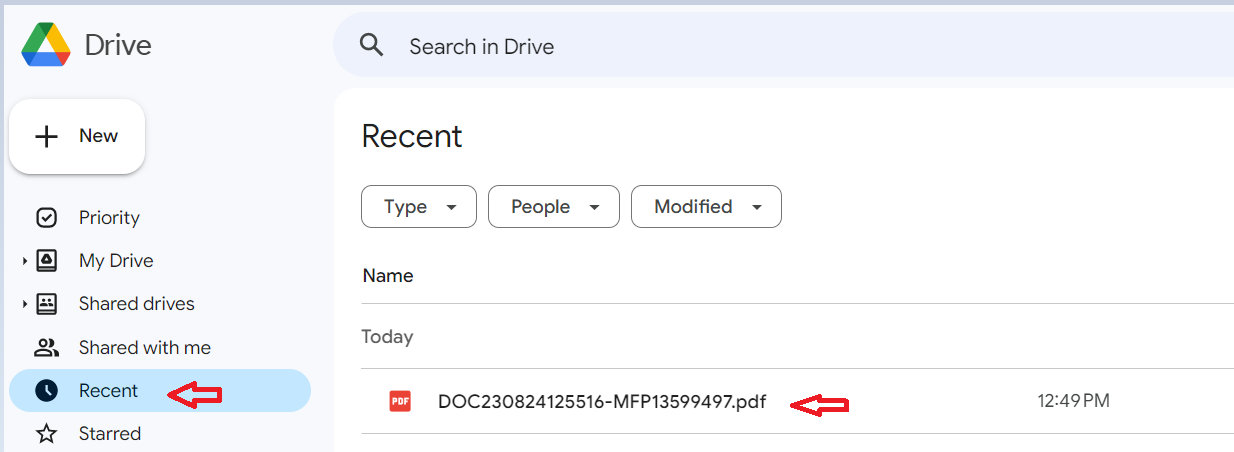
The scan will be uploaded to the Google Drive folder you selected. If you have trouble finding the document, check the ‘recent’ tab in your Google Drive Menu.