Keeping your contact information up to date is essential for timely communication. The RAVE emergency notification system relies on your "Cell Phone" contact, so ensure it is accurate to receive critical alerts. Students and employees can easily update their phone numbers by following the steps below.
To begin, log in to Colleague Self-Service at https://selfsvc.saintpeters.edu/Student/UserProfile with your SPU Username and password.
|
|
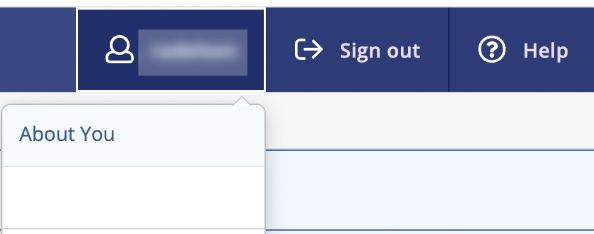
After logging in, click on your Username at the upper right to expand the User Profile, and click "About You".
|
|
|
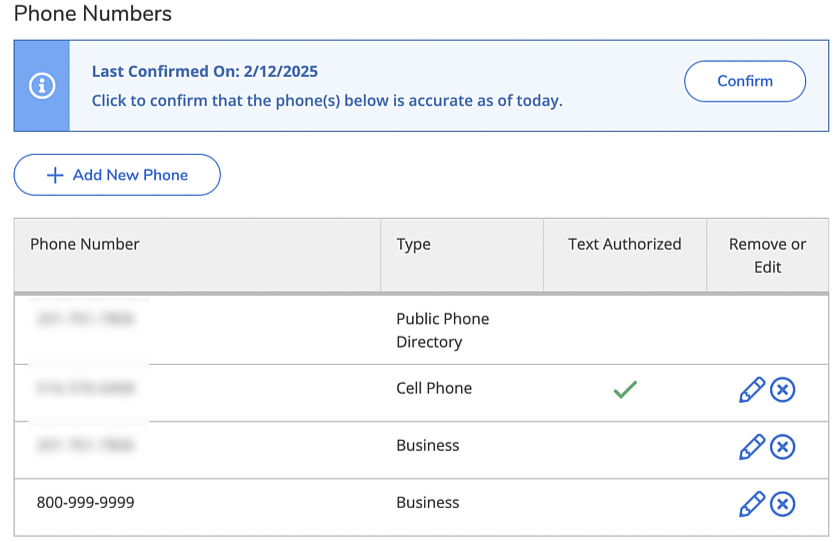
Scroll down, and any phone number(s) on your record will appear.
|
|
|
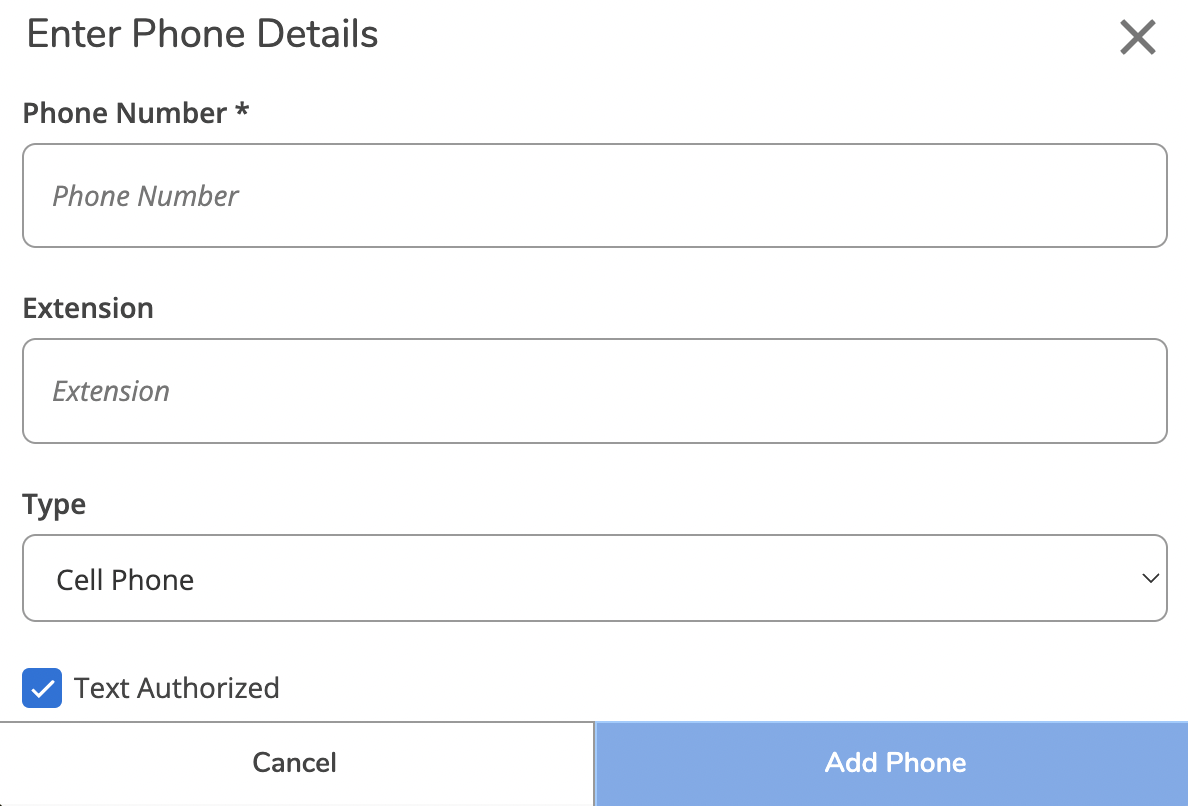
To add a new phone contact, click the “+ Add New Phone” button on the left side, and enter your number. Select the type, and check the “Text Authorized” box if this phone number can receive text messages. When you are finished, click “Add Phone” at the lower right.
|
|
|
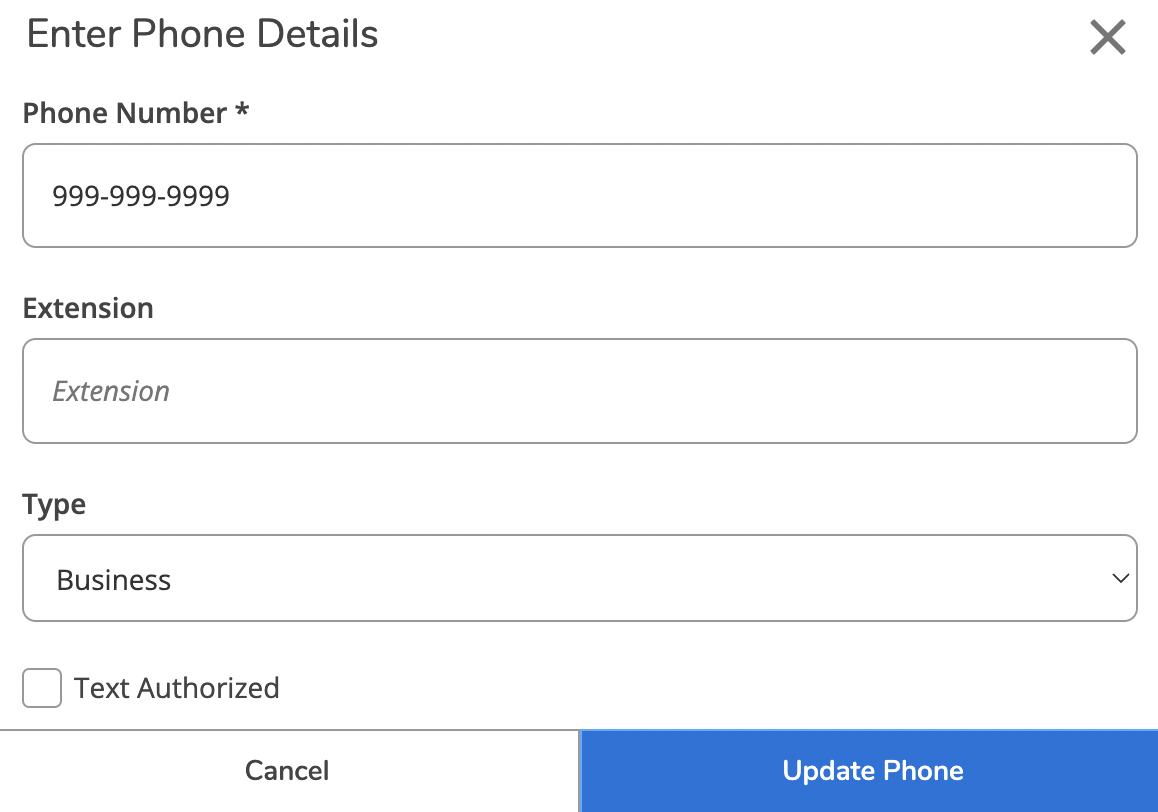
To edit an existing phone contact, click the “Pencil” icon on the right side of a phone contact, and then you’ll be able to update the information. When you are finished, click “Update Phone” at the lower right.
|
|
|
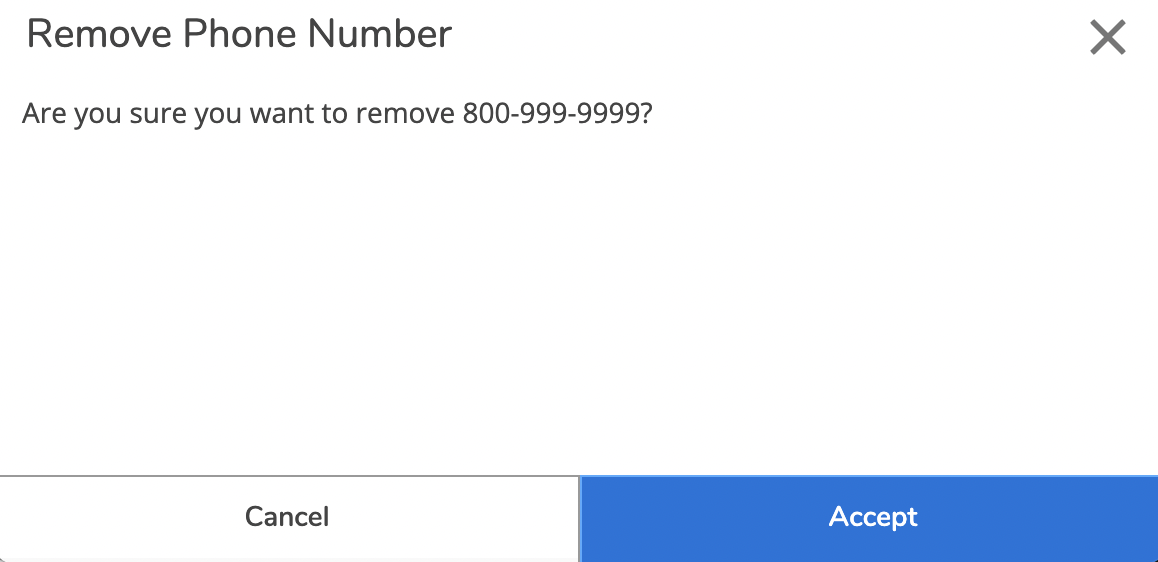
If you wish to delete an existing phone contact, click the “Circle X” icon on the right side of an existing contact. You’ll be asked to confirm this deletion; click “Accept” at the lower right, and it will be deleted.
|
|

|
When you are finished adding, updating, or deleting, you must click the “Confirm” button to save this information. You’ll see a confirmation message appear; following this, you can exit the screen.
|